MUSEUMMagazine
English

Sources and image credits: The Oval Room: Teylers’ first museum gallery

Sources and image credits

Sources by paragraph

  1. Paragraph 1: https://teylersmuseum.nl/nl/ontdek/verhalen/de-ovale-zaal · https://teylersmuseum.nl/nl/ontdek/ontstaan
  2. Paragraph 2: https://teylersmuseum.nl/nl/ontdek/verhalen/de-ovale-zaal
  3. Paragraph 3: https://teylersmuseum.nl/nl/ontdek/verhalen/de-ovale-zaal
  4. Paragraph 4: https://teylersmuseum.nl/nl/ontdek/verhalen/de-ovale-zaal
  5. Paragraph 5: https://teylersmuseum.nl/nl/ontdek/verhalen/de-ovale-zaal · https://teylersmuseum.nl/nl/ontdek/gebouw
  6. Paragraph 6: https://teylersmuseum.nl/nl/plan-je-bezoek
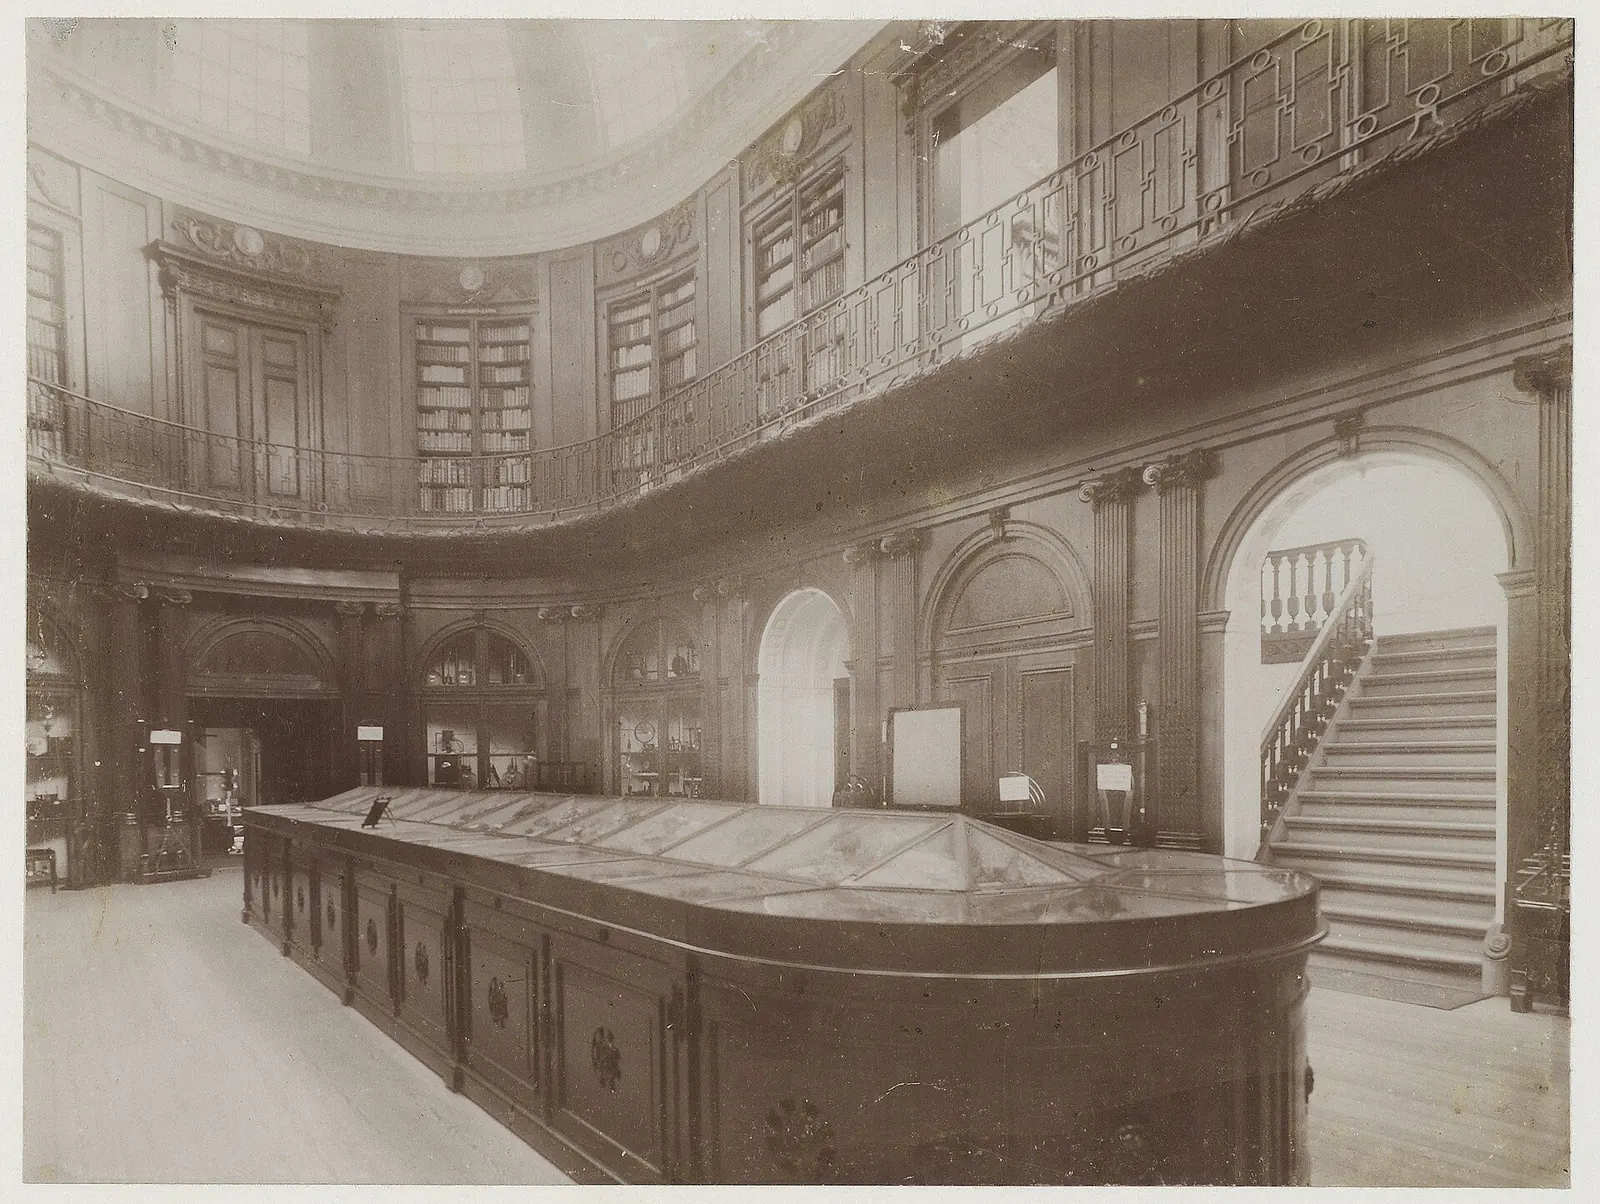
Historic black-and-white photograph of the Oval Room with its central display case and books on the upper gallery.
The Oval Room with its central display case and upper gallery in 1895. Archive photograph. Photo: Johannes Goedeljee / Noord-Hollands Archief, CC0. Johannes Goedeljee / Noord-Hollands Archief · CC0 · Image source
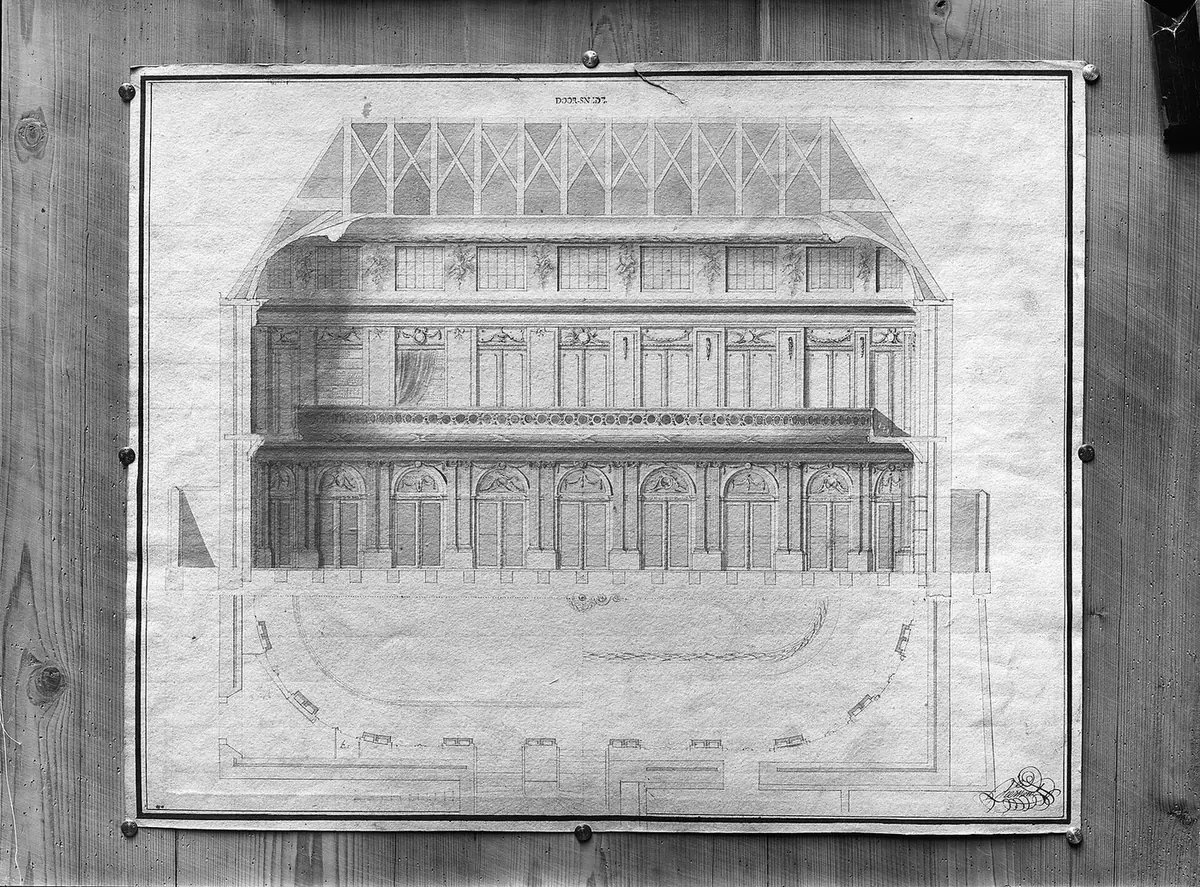
Historic architectural drawing showing a section and oval floor plan of the museum room.
Section and floor plan of the Oval Room after Leendert Viervant’s design. Archive image: Rijksdienst voor het Cultureel Erfgoed / Wikimedia Commons, CC BY-SA 4.0. Rijksdienst voor het Cultureel Erfgoed / Wikimedia Commons · CC BY-SA 4.0 · Image source

Read the story →

Rubrieken

MuseumkaartMusea ontdekkenHomeMuseumverhalenKijkkunstWereld & objectAchter de schermenAgenda